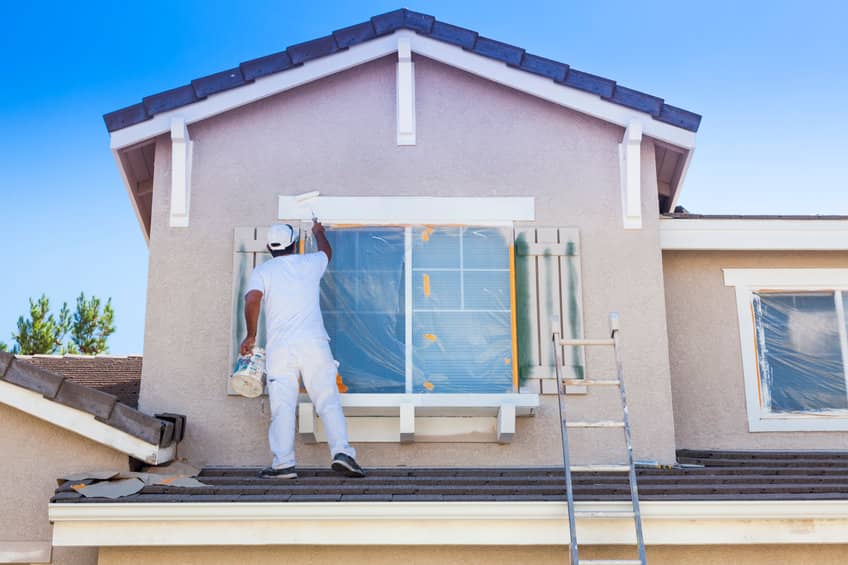
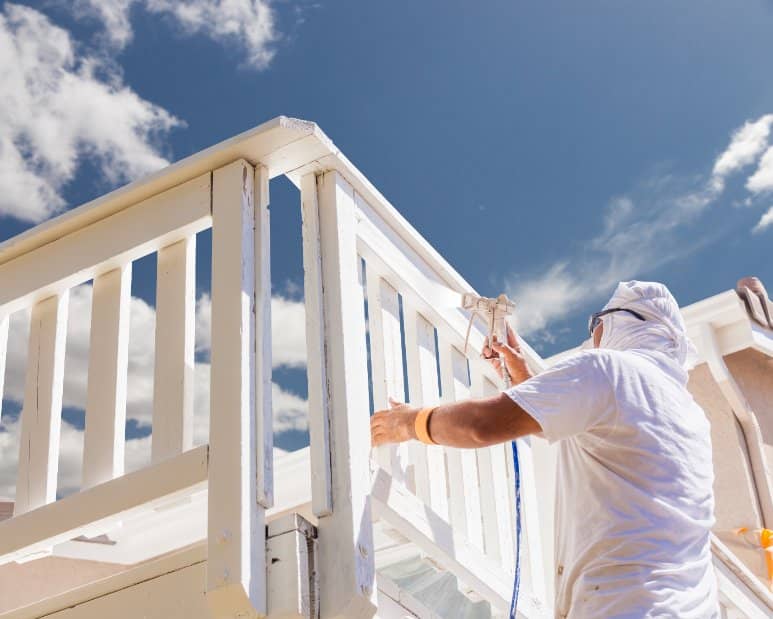
Painting a house’s exterior may be a difficult task. It takes real effort and expertise to ensure that the output is what you want. Paying a professional for the job is a good way to guarantee that the exterior painting of your home is done correctly. However, you can save your painter a lot of time and effort by adequately planning the project. Before starting the painting project, clean, dull, and dry the exterior of your building. Remove any chalk, grime, or mildew using a gentle soap and water solution. Also, wrap plastic over garden plants to protect them. You do not want plants to obstruct your painting by being coated or stuck beneath the fresh layer of paint.
On the other hand, you don’t want paint particles to destroy them. Therefore, before house painting, you should remove unwanted items and relocate or cover any plants. It’d be ideal if you could protect your foliage with a tarp that is thick enough to keep the paint away but not so thick that it crushes your plants. If possible, transfer any potted plants temporarily.
You should do several things even if you hire a professional painting service. First, the painting would be much better if suitable painting preparations were made before the arrival of the professionals. If you do not prepare your home for painting, you may not get the best results. Experts do a great job, but the results can be superb if proper preparation is taken. For more resources on exterior painting, click here.
Check the Condition of your Current Paint
Check the state of your current paint to minimize cracking or flaking over time. Make an “X” on the surface with a razor blade or knife, then press a tape firmly on the “X” and peel it off in one rapid move. If any existing paint adheres to the paper tape or lifts the edges of the “X,” the surface is not a good foundation and must be scraped or sanded down.
Decontaminate the Area
Since lead paint has been prohibited in the United States since 1978, many houses still have hazardous paint. If you think you have lead stains on your walls, avoid scraping or sanding them off and refrain from washing. Before you begin, a contractor that is fit to handle lead removal must remove the paint. Before completing any more outside painting preparation, test the color.
Remove Mold and Mildew
Mold or mildew is a common pollutant, particularly in humid locations. If you’re unsure if a stain is caused by mold, mildew, or just dirt, use regular bleach to it. If it washes away, you have successfully eliminated mold or mildew.
Use bleach or perhaps another EPA-registered micro biocide or fungicide to eradicate mold and mildew. While bleach alone is effective in a 3:1 solution with freshwater, other concentrated solutions are more effective. For example, consider detergents and degreasers that are multipurpose, capable of eliminating harmful microorganisms and dirt, grease, and oil.
If you’re painting a house in an area that mold spores are a constant issue, include a mildewicide into the paint to avoid future contamination problems.
Clean Up Your Place
You can paint over a dirty, glossy, peeling, flaking surface, but your painting will not last. The surface must be dust-free to guarantee that new paint sticks to the wall. Depending on the state of the previous color or the type of surface you’re painting, a professional may need to apply many layers of primer (for example, covered drywall, bare drywall, wood, or metal). Scraping is required if the old paint is peeling or flaking. If damaged paint is not removed, your new outside color will seem harsh.
To aid in the adhesion of the new paint, thoroughly clean the home’s outside surfaces before painting. If the structure already has color, you may accelerate this step. Deep cleaning is another option for stained walls. However, depending on the state of the wall, you may need to use a softer method when cleaning.
Avoid pressure washing if your home has a softwood exterior since this might cause harm to the wood. Instead, to clean softwoods like redwood or cedar, particularly if they’ve been exposed to moisture, you’ll need to use a detergent and water solution.
While it may be tempting to spray down the exterior of your building and assume that it’s okay, doing so might end up costing you money in the long run. Thoroughly investing the time and effort to clean the home before painting is an investment. Definitely, it is an investment that will be worthwhile.
Get Repairs Done and Remove Peeling Paint
Examine the place thoroughly for signs of deterioration and flaking paint. You may need to repair holes, caulk surfaces, and remove faded paint. Remove any color that has poor adhesion by peeling. You may also use a paint-stripping power sander or a firm metal scrubbing brush to peel it off. Scrape down the grain of the wall. When dealing with wood shakes, keep in mind that small pieces of steel wire might get trapped in the wood. Take all of these pieces out by hand. They may harm your paintwork and result in future wood yellowing if you do not do this. Also, when dealing with peeling paint, always use a face mask or even a respirator and protective work gloves.
Sand the Walls
To ensure an excellent mechanical link between the layers of paint on the outer walls, it is essential to sand down your exterior walls thoroughly. Suppose you do not appropriately roughen the surfaces. In that case, your paint project may seem to be flawless when you walk away, but after a few months, the paint begins to reveal all kinds of flaws.
Use medium-grit paper to resurface worn wood. For places where the painter uses glossy or semi-gloss paints, such as door or window frame, sand accordingly using fine-grit paper. Sanding is crucial in any painting, so thoroughly go over all current paint to produce a rough surface suitable for the new color.
All these tips are vital for a smooth exterior wall painting.
Note, it is critical to repaint your exterior every 7-10 years to keep it looking attractive. The importance of repainting every 7-10 years is emphasized in an article by PaintingCo with all the factors that determine how often.


